Editorial status: Documentation-based implementation guide. No independently tested workflow or downloadable JSON is claimed.
Client onboarding often spans several tools: a CRM, contract system, project manager, shared storage, and email. Automating those handoffs can reduce administrative work, but it can also create duplicate projects or expose sensitive client files if permissions are handled poorly. Start with a clear state machine rather than a chain of unchecked actions.
What the workflow should accomplish
After a deal is approved for onboarding, the workflow should create or update the client record, prepare the project workspace, request required information, and notify the responsible team. It should stop when contractual or payment prerequisites are not met.
Suggested architecture
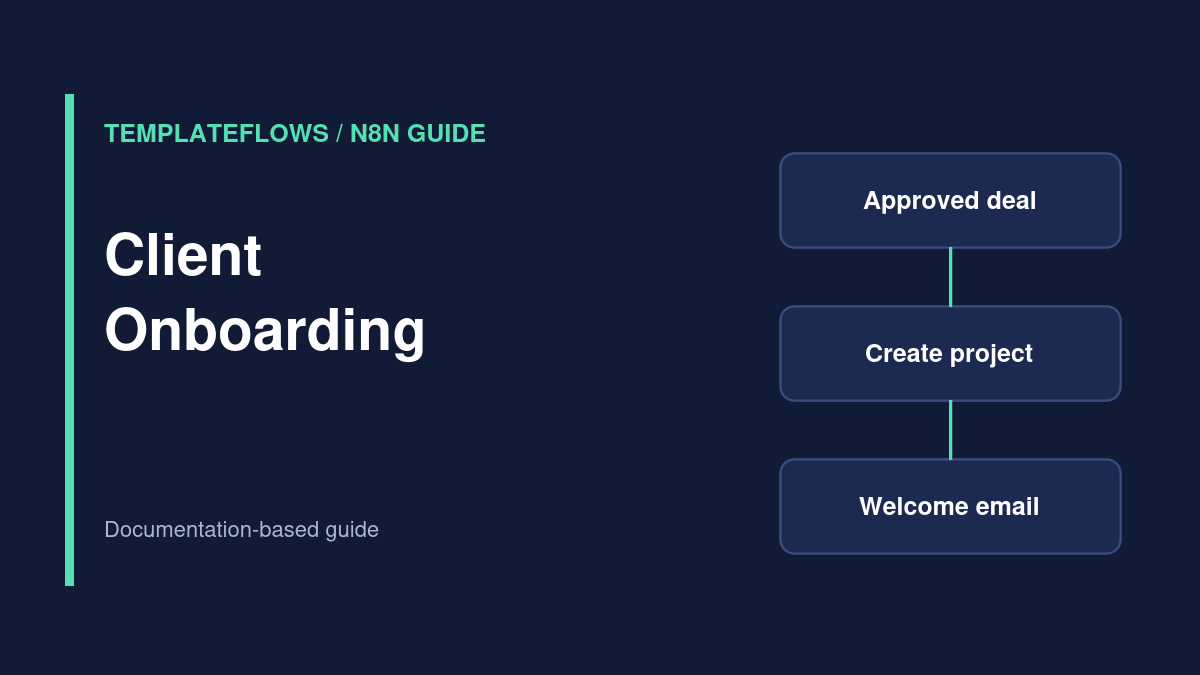
CRM stage change or approved webhook → verify contract/payment gate → find existing client → create project → provision approved resources → send welcome email → update onboarding status. For each external action, keep a reference ID in the CRM or a controlled database.
Step 1: Define the trigger and approval gate
Use a CRM trigger, scheduled poll, or authenticated webhook. A salesperson moving a deal to a particular stage may be sufficient for a low-risk workflow; higher-risk provisioning should require a separate approved status. Never infer that a contract is signed merely because a sales note says “ready.”
Step 2: Normalize client details
Capture client ID, project type, account owner, primary contact, timezone, and approved service package. Validate required fields. Prefer stable IDs over client names when matching existing accounts, since names can change or be duplicated.
Step 3: Create resources idempotently
Before creating a project board or folder, search for a resource associated with the client ID and onboarding event. Save the resulting external IDs. If the workflow is retried, reuse existing resources rather than creating a second board and a second folder.
Step 4: Manage access intentionally
Provision only the collaborators and permissions required by the signed scope. Do not automatically share internal folders with external clients. If your storage or project tool does not support reliable permission automation, create a human approval task instead.
Step 5: Send a contextual welcome message
Use a reviewed email template with the client’s correct contact, kickoff details, next actions, and approved links. Send the email only after prerequisite resources exist. Store the send outcome and avoid repeated welcome emails after retries.
Step 6: Handle partial failures
Suppose the project board was created but the welcome email failed. A retry should resume from the missing step, not create another board. Record each step’s state, such as project_created, folder_ready, and welcome_sent, against the onboarding ID.
Testing checklist
- New approved client gets one workspace.
- Duplicate trigger reuses the existing project.
- Missing contract approval stops provisioning.
- Incorrect email or permission settings fail safely.
- Partial failure can be retried without repeating completed side effects.
References
Documentation reviewed: October 2026. Verify integration options and permissions for your own software versions.