Editorial basis: This tutorial is based on n8n’s official documentation. It describes a reproducible build plan, not an independently executed workflow or a downloadable JSON template.
The n8n Form Trigger lets you start a workflow when someone submits a form hosted by n8n. Unlike a generic Webhook node, it creates the form page itself, so you can collect a request without first building a separate frontend. A useful first project is a simple contact or intake form that validates a submission and routes it to a spreadsheet or team notification.
What the workflow does
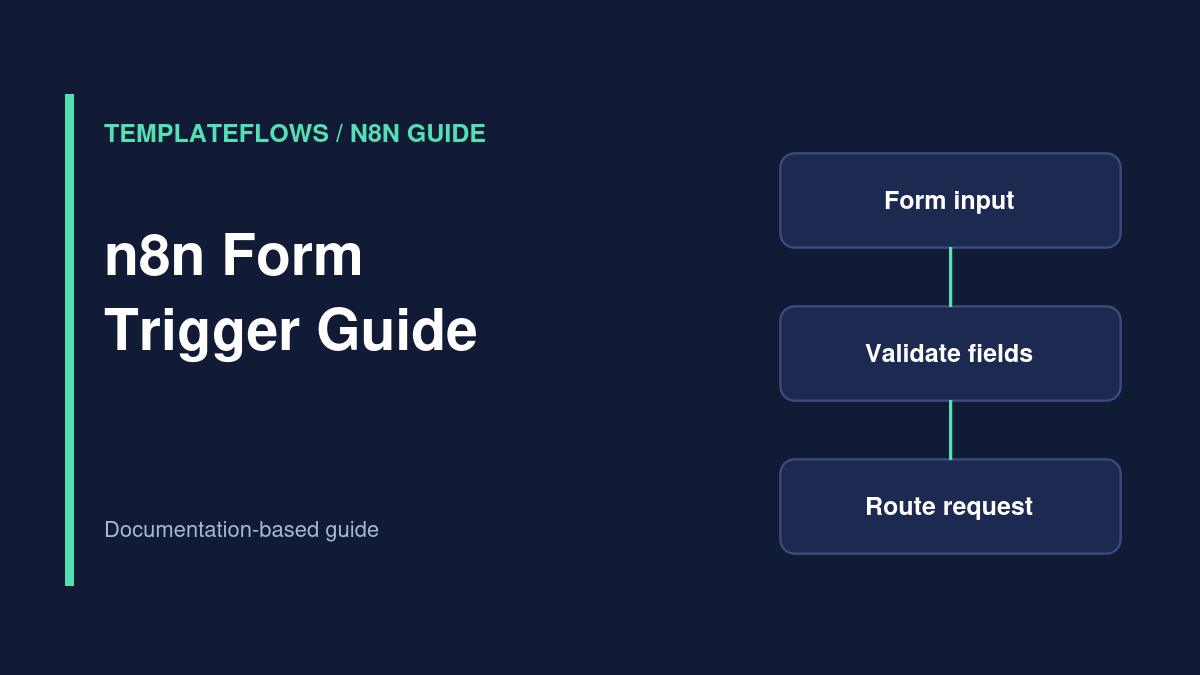
Build this path: n8n Form Trigger → Edit Fields → If → destination node. The destination can be Google Sheets, email, Slack or your CRM. This guide focuses on the form and data handoff, so you can select a destination appropriate to your organization.
Prerequisites
- An n8n Cloud account or a reachable self-hosted n8n instance.
- Permission to create and publish a workflow.
- A test-only destination, such as a spreadsheet or internal notification channel.
- A decision about which personal data you genuinely need to collect.
Step 1: Add the n8n Form Trigger
Create a new workflow and add n8n Form Trigger as its starting node. Set a descriptive form path, title and short description. Add only the fields you need. For example, an internal request form might ask for name, email and request_type. Where supported, mark important fields as required, but remember that required fields alone are not a substitute for validation.
The Form Trigger node generates a form URL. n8n documents distinct Test URL and Production URL modes. Use the Test URL while developing so you can see incoming data in the editor. Do not publish a test URL on a live website.
Step 2: Submit a test response and inspect its shape
Use the node’s test action to open the form, enter fictional information and submit it. Inspect the execution output before mapping any fields. The field names and types in the output depend on the form elements you configured; never assume an example expression will match your own form.
For a full end-to-end test, use Execute Workflow, submit the form and inspect the downstream nodes. Executing only the Form Trigger node tests that node, not necessarily the rest of the workflow.
Step 3: Normalize and validate the submission
Connect an Edit Fields node to select a small, stable set of values such as name, email, request type and a received-at timestamp. Then add an If node to check that required values are present and that the request type is one your workflow supports. If the workflow is public, also plan spam controls and appropriate data retention.
For example, route request_type = sales to an approved CRM queue and request_type = support to a support inbox. Do not let a free-text field decide a privileged action without a rule-based check.
Step 4: Choose a destination and response
For a simple demonstration, send the normalized fields to a restricted-access Google Sheet. In a production system, choose a destination with suitable permissions, logging and duplicate handling. If you need multiple pages or a richer response, n8n also documents the separate n8n Form node, which can continue the form experience after the trigger.
Step 5: Publish and test the Production URL
Save and publish the workflow using the controls in your n8n version. Replace any shared Test URL with the Production URL and submit one more fictional request. n8n’s documentation notes that production submissions don’t appear in the editor in the same way as test data, so review the execution history when troubleshooting.
Common issues and fixes
- Form works in testing but not for visitors: check that you are using the Production URL and that the workflow is saved and published.
- Fields are blank downstream: inspect the real Form Trigger output and correct your mappings.
- Visitors can submit unwanted content: limit accepted fields, consider authentication and apply validation before external actions.
- Prefilled query parameters do not work in tests: n8n documents that form field prefill through query parameters is available in production mode, not test mode.
Pre-launch checklist
- Use only the fields required for the stated purpose.
- Confirm the correct Production URL and workflow publication state.
- Test a valid request, a missing required field and an unexpected request type.
- Verify destination permissions and who can access submissions.
- Decide how to monitor failures and delete old submissions.
Related TemplateFlows guides
- n8n Webhook Test vs Production URL — understand test and production endpoints.
- Contact Form to CRM with n8n — plan lead validation and routing.
Official references
Documentation reviewed: October 2026. Node labels and publishing controls can vary by n8n version.